
I have been living in Europe for 3 years but it seems there are not many restaurants selling Okonomiyaki (お好み焼き).
Okonomiyaki is actually very easy and fun to make. Although there are some Japanese flavorings usually added in Okonomiyaki, to make this recipe easy to make in Europe, the ingredients I use here should not be too difficult to find in your next-door supermarkets and Asian supermarkets. Let’s get the ingredients and start cooking!
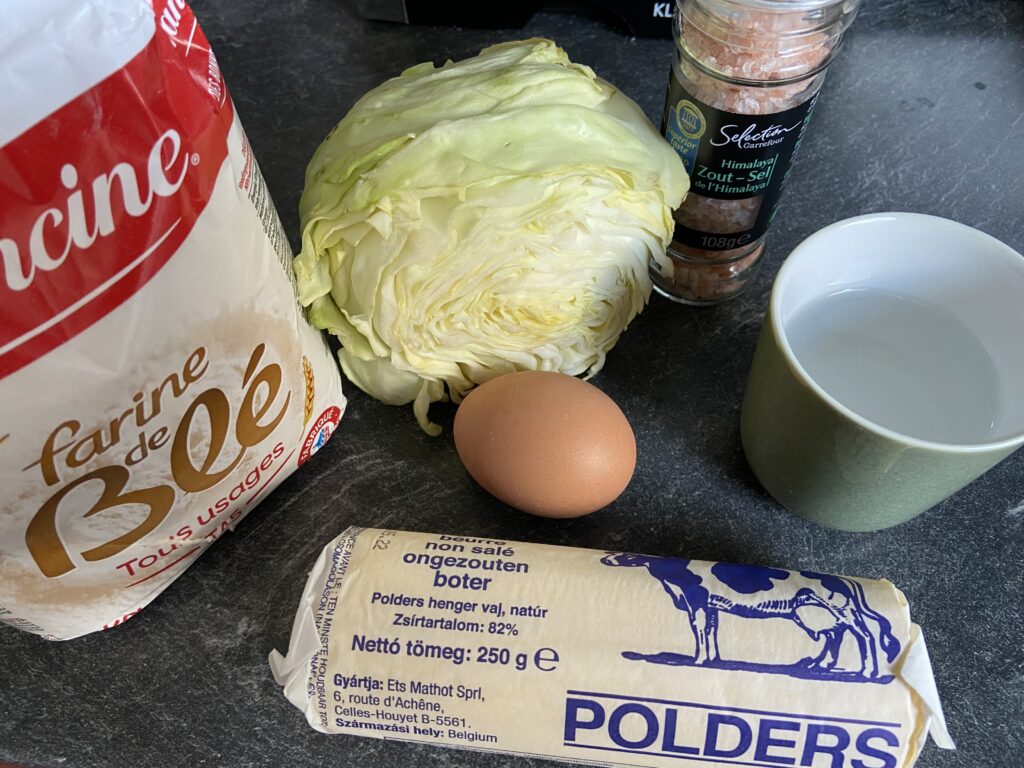
Okonomiyaki Base (for 2 people):
- 100 g All-Purpose Flour
- 100 g Water
- 1 Egg
- 150-200 g Hispi Cabbage
- A pinch of Salt
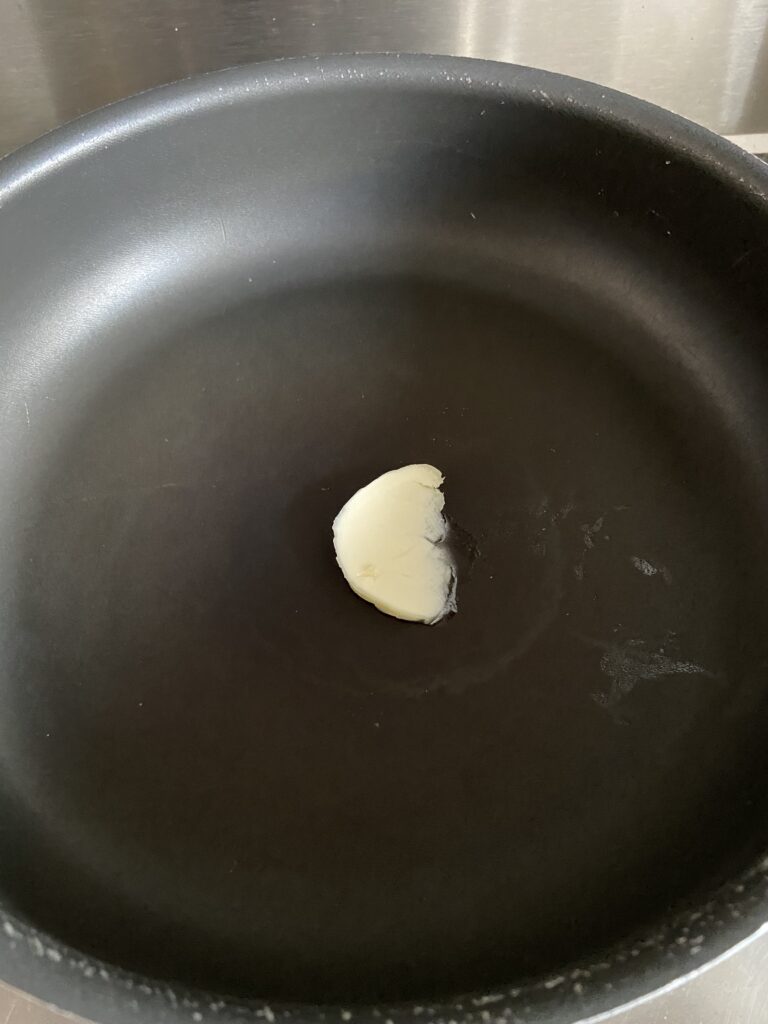
- Some Cooking Oil (I usually use butter but any cooking oil can work)
Other ingredients you can add of your choice:
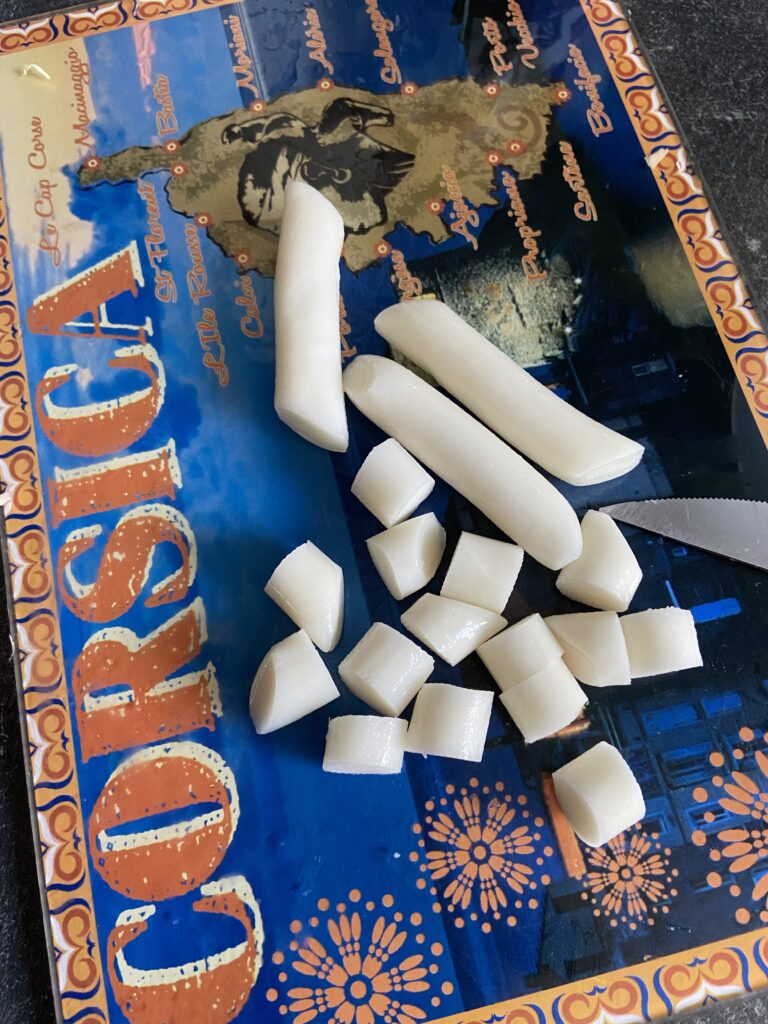
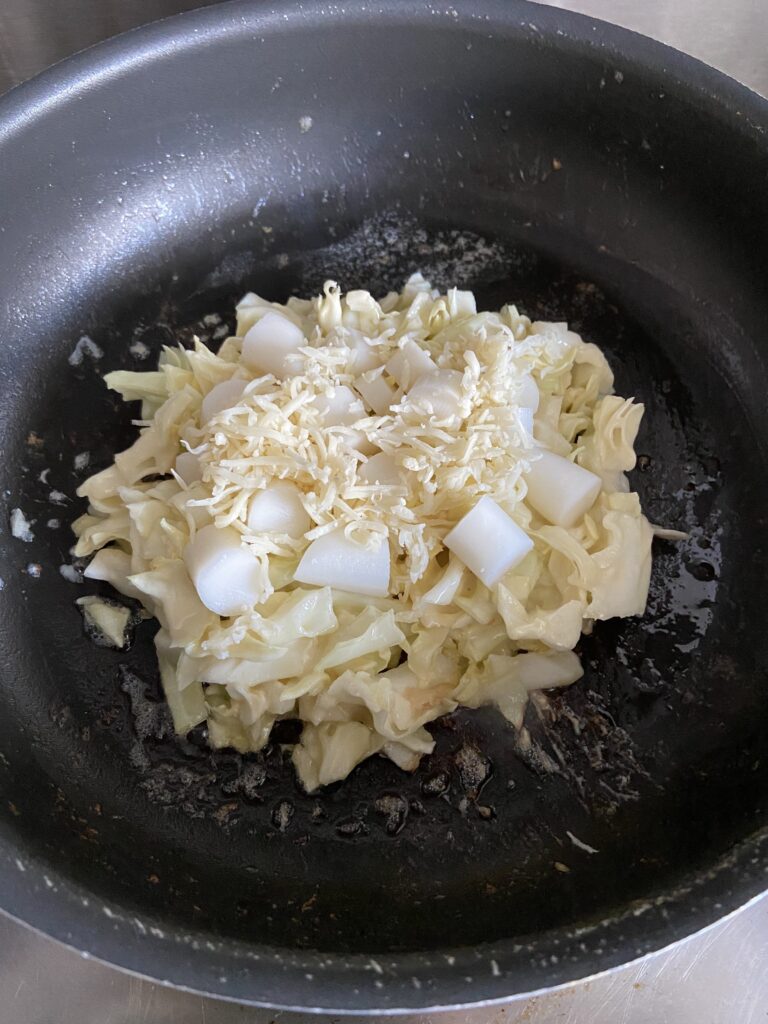
- Mochi (rice cake): It might be difficult to find Japanese mochi (for cooking) in Europe. What I usually use is the Korean rice cake, which is used to make Tteokbokki, and you can find it in Asian supermarkets. Tteokbokki rice cake is cylinder-shaped. I always cut them smaller before putting them into my Okonomiyaki.
- Pork: Okonomiyaki with Pork is a popular choice in Japan. It even has its own name: Buta Tama (豚玉). Sliced pork is a perfect match with Okonomiyaki!
- Chicken: I wonder if I have ever taken any chicken Okonomiyaki in Japanese restaurants but I like it quite a lot when I make it at home. It’s basically adding Yakitori (焼き鳥, Japanese-styled grilled chicken) on top of Okonomiyaki. I always cut the chicken into small pieces so it’s easy to eat.
- Cheese: Cheese is just good with a lot of things, so why not Okonomiyaki. In Japan, many Okonomiyaki restaurants sell Mochi Cheese-flavored Okonomiyaki as well!
- Seafood: I love seafood. And a lot of Japanese people like seafood too. To make my cooking easy, I usually buy a pack of mixed frozen seafood and put the among I want into a cup of water in order to unfreeze it before cooking.
Sauce and Toppings of your choice:
- Okonomi Sauce: Nothing more to explain. It shouldn’t be difficult to find it in Asian supermarkets. But if you don’t see the exact sauce. You can try other brown-colored Japanese sauces you can find.
- Mayonnaise: You can get one in your next-door supermarket. But I would recommend you to get a Japanese one at Asian supermarkets. The taste can be quite different!
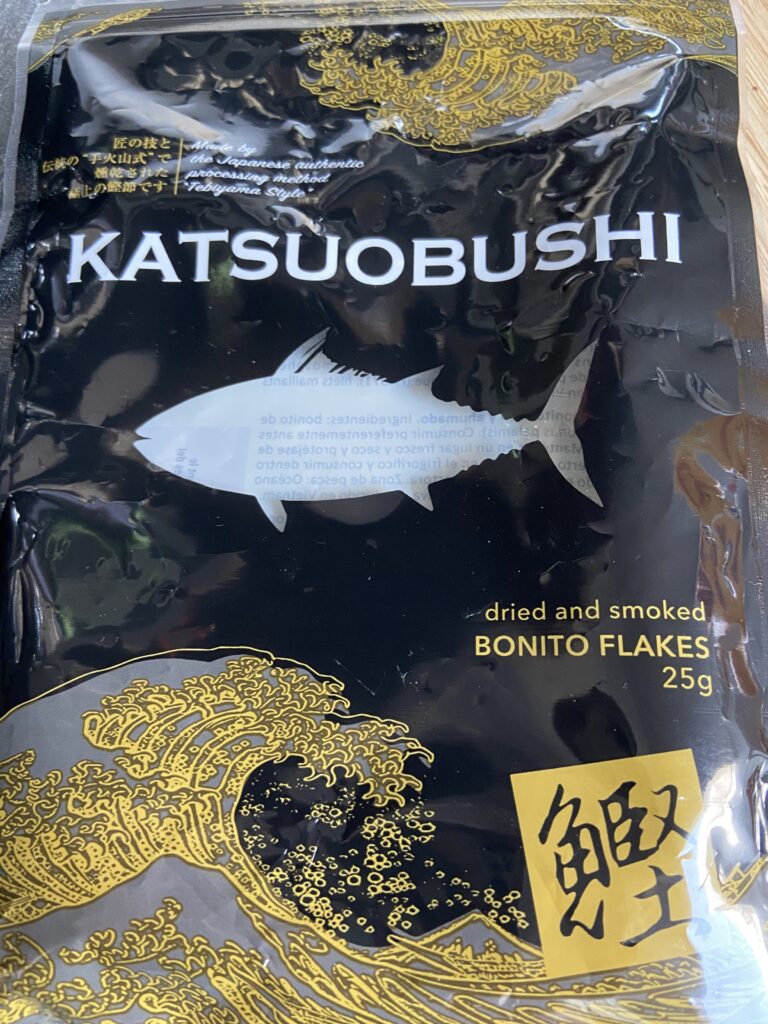
- Fish Flakes (かつお節| Katsuobushi): I don’t always see it at Asian supermarkets but still, it’s possible to get it. And the Okonomiyaki is for sure much better with fish flakes!
- Seaweed Flakes: I don’t see it often in Europe and I don’t usually use it either because the person sitting at the same dining table as I do doesn’t like seaweed much … However, it’s very often added in Japan.
How to make it:
1.Mix flour, water, and salt in a bowl.
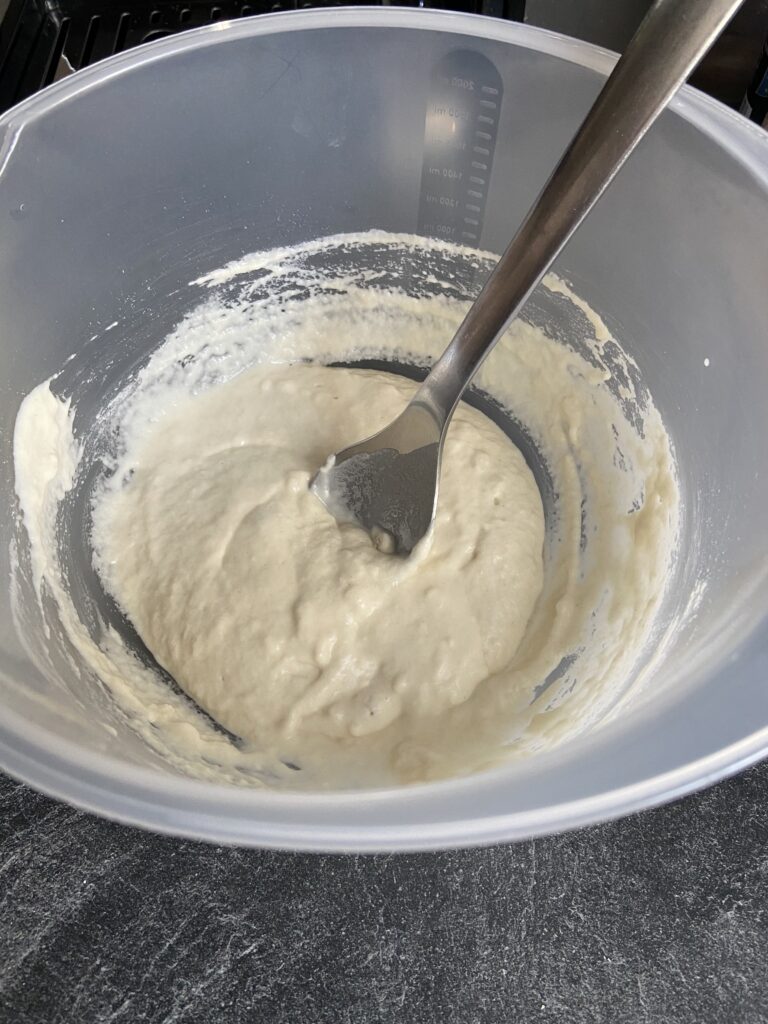
2. Add an egg and mix well.
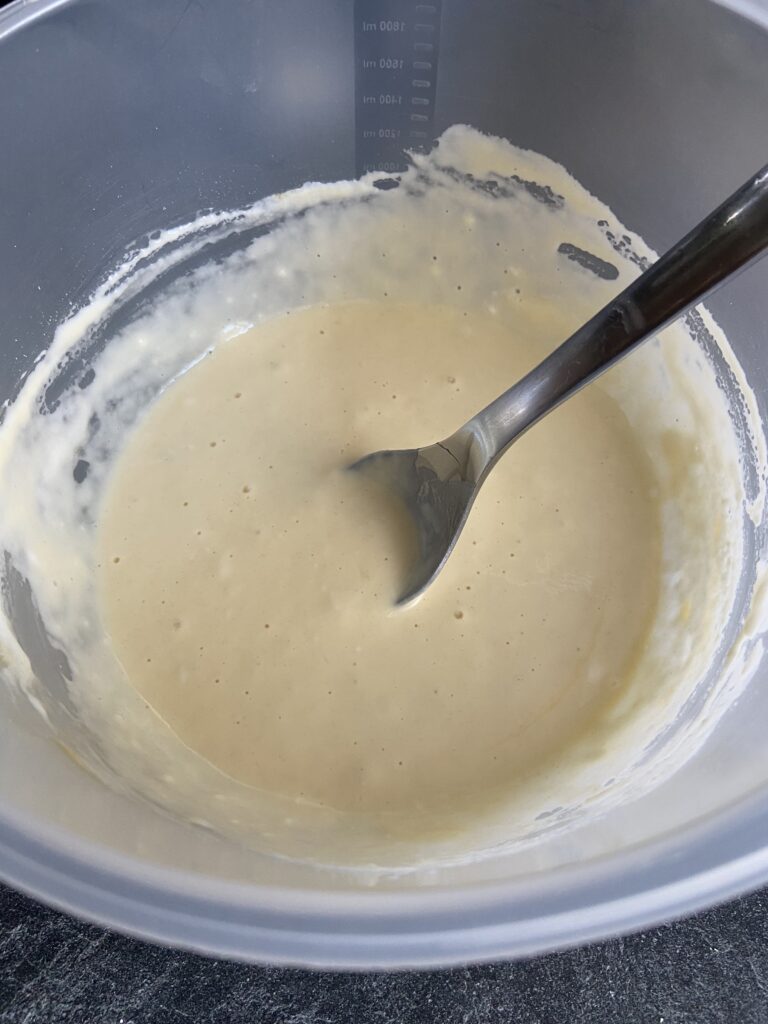
3. Add chopped Hispi cabbage and mix well. (I added a little bit more cabbage, about 230g, because I just wanted to use up all the cabbage I had at home. And that made it harder to flip the Okonomiyaki in the end…)

4. Warm your frying pan on the stove and pour some cooking oil into it.
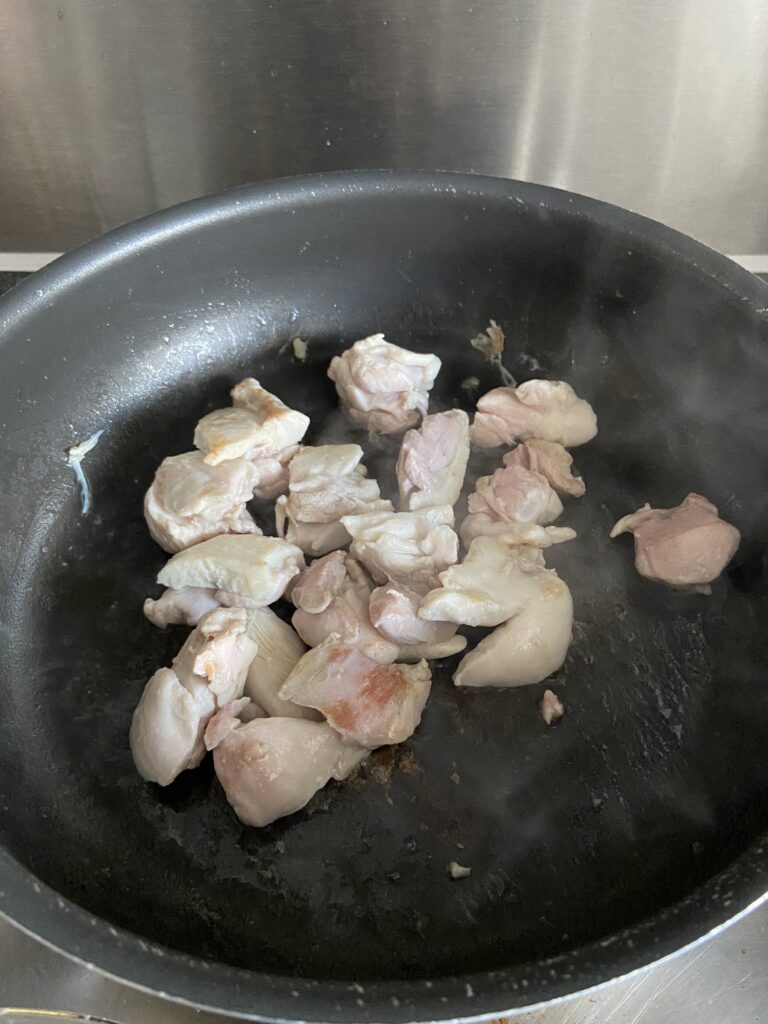
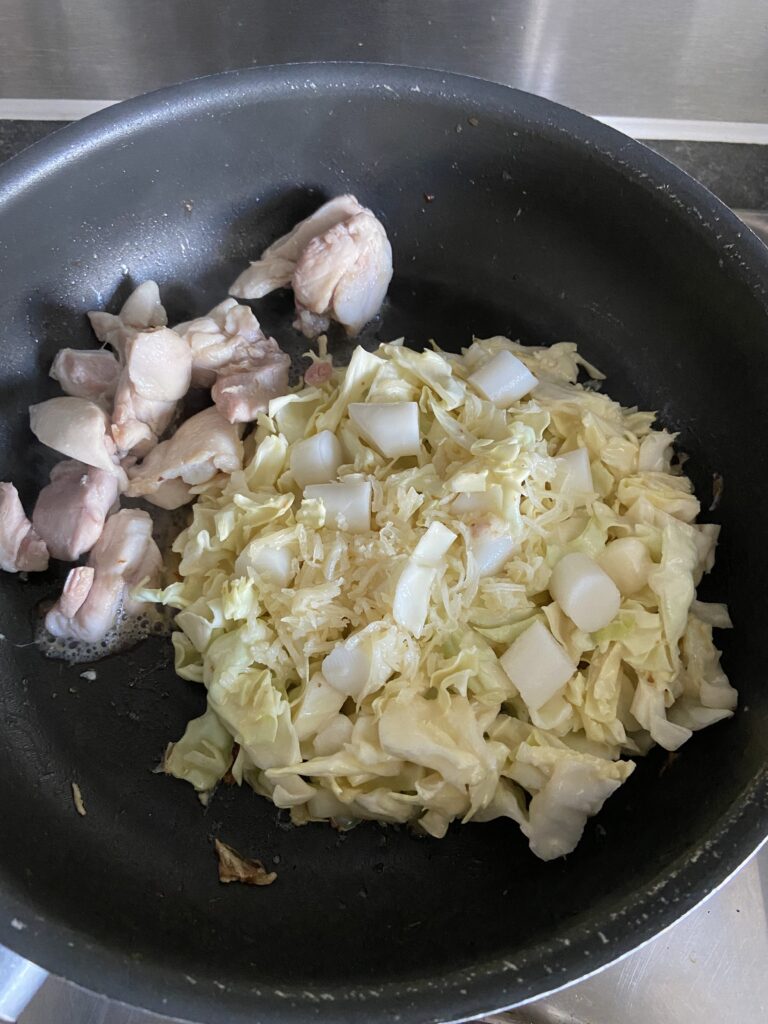
5. If you would like to add meat or seafood (if not you can skip this step):
Pan fry them until almost cooked, pour them out in a bowl, and put them aside.
6. Add half of the Okonomiyaki base mix to the pan (the portion for 1 person) and shape it round. For the thickness, I don’t usually care much but for me, it’s around 1-2 cm thick.
7. If you would like to add mochi or cheese (if not you can skip this step):
Put it on top of the Okonomiyaki base.
8. Cover the pan with a lid and let the Okonomiyaki be steamed a bit. Use medium to strong heat. Wait until the upper side is getting solid. You can check the downside from time to time if you are not sure if it’s cooked or not.
9. Once the downside is cooked, put the meat or seafood you already cooked once in the pan (if you have them), and flip the Okonomiyaki (on top of the meat/seafood). Cover the lid and wait till cooked.

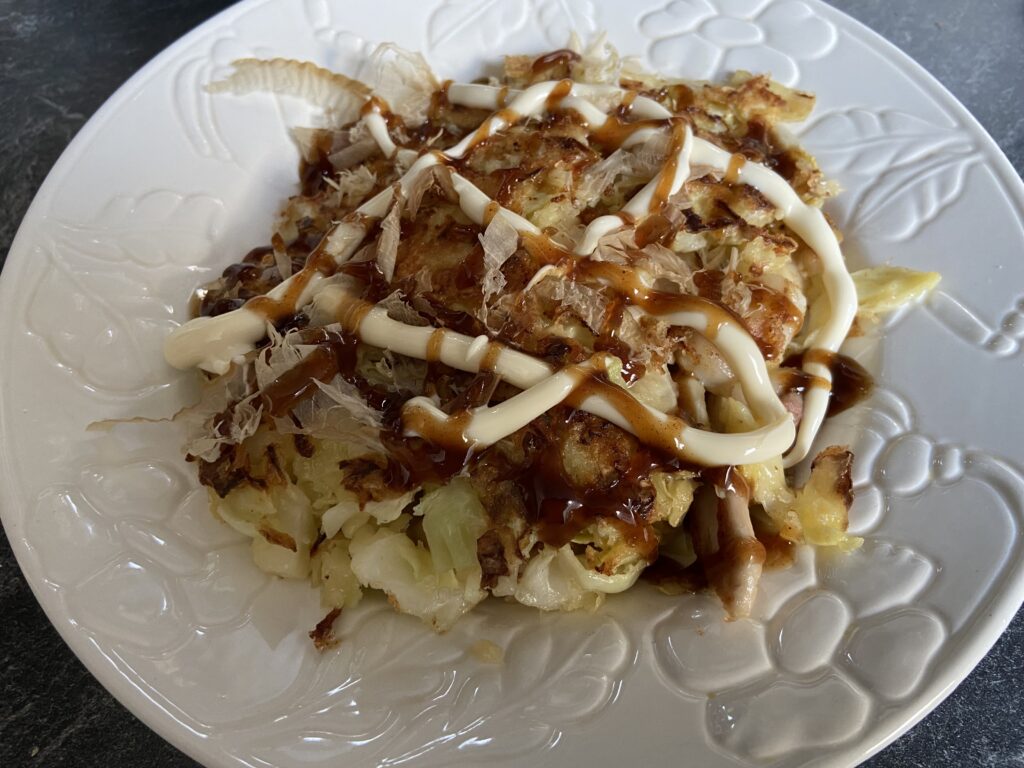
10. Now your Okonomiyaki is done! Just add the sauce and toppings you like before serving! Bon appétit!
Special Thanks to my friend Nilsen who gave me the idea of writing this recipe down.